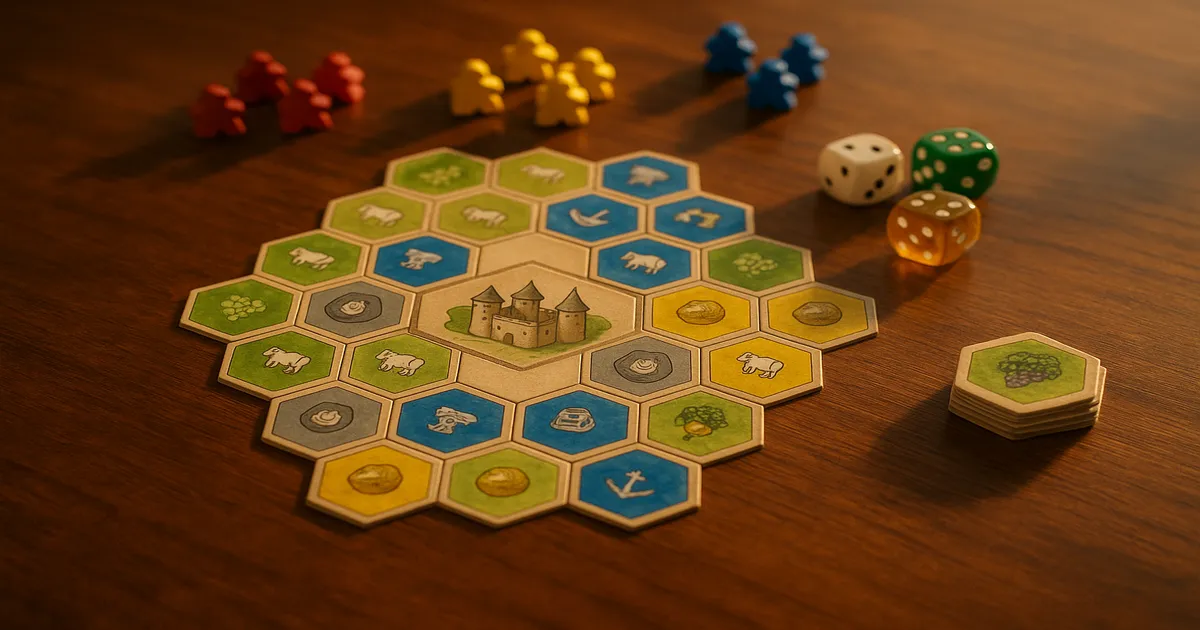
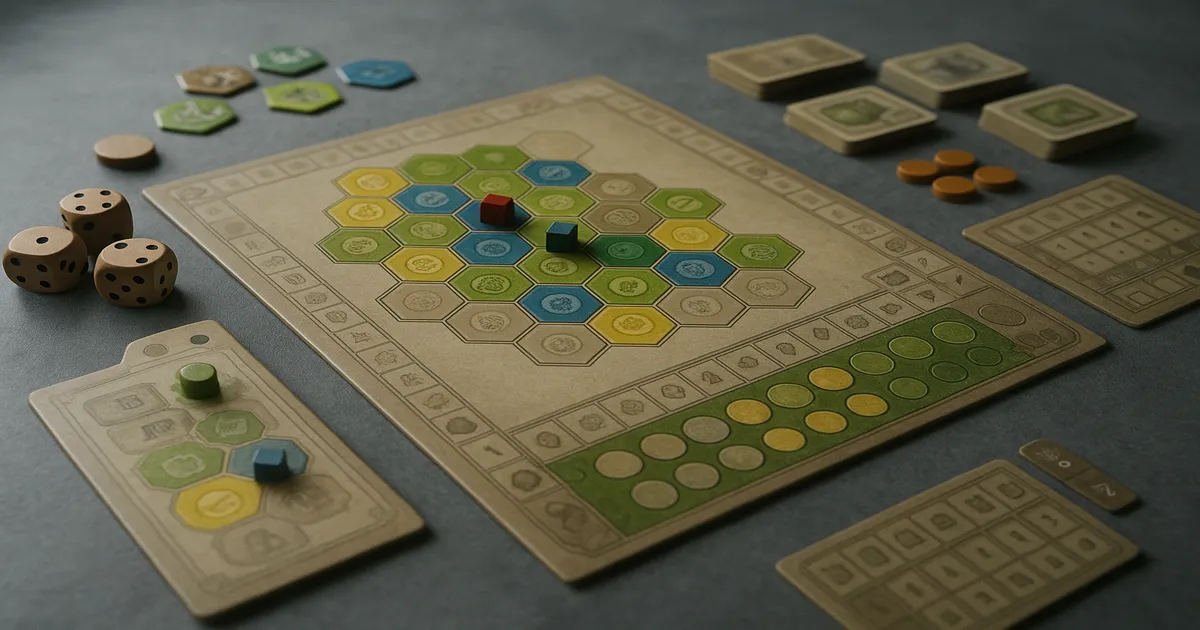
Quick Answer: In Castles of Burgundy Special Edition, 1–4 players take on the role of medieval Alsatian princes building up their estates by drafting hex tiles using dice rolls. Each turn you roll two dice, use each result to take an action — grabbing tiles from a central depot, placing them on your board, or selling goods — then score points for completing colored regions. The Special Edition (BGG weight ~3.0/5, 30–90 minutes) bundles all expansions, larger tiles, a solo mode, and asymmetric player boards into one premium package.
How to Play Castles of Burgundy Special Edition
What Is the Castles of Burgundy Special Edition?
Castles of Burgundy Special Edition is Stefan Feld’s acclaimed dice-drafting Euro, originally published in 2011 and given a premium overhaul by alea in 2019. You’re a medieval prince in the Burgundy region of France, expanding your estate by placing hex tiles onto your personal board — building castles, raising livestock, mining silver, trading goods. The core puzzle is figuring out how to use your dice results as efficiently as possible, every single round.
It plays 1–4 players in 30–90 minutes, sitting comfortably in medium-heavy territory at around 3.0/5 on BGG.
What Makes the Special Edition Different from the Original?
The original 2011 version is a great game with famously tiny tiles and somewhat drab art. The Special Edition fixes both. Klemens Franz — the original artist — returned to refresh the visuals with more vibrant colors and cleaner iconography, and the hex tiles are noticeably larger. Beyond aesthetics, the box includes every expansion ever released for the game, a brand-new solo mode, and multiple asymmetric player boards that weren’t in the original. If you’re buying for the first time, there’s genuinely no reason to go with the original.
What’s in the Box
Player Boards, Depot Boards, and Tiles
The Special Edition ships with 6 double-sided player boards and 6 depot boards — the central boards that get swapped out each phase — plus additional boards from the integrated expansion content. The tile count runs north of 180 hexes, all substantially larger than the original.
You also get custom dice sets (one pair per player color), wooden worker tokens, wooden goods tokens, cardboard silver coins, a wraparound scoring track, quick-reference cards, and a phase/round tracker.
Component Quality and Table Footprint
The tiles are the star of the show — thick cardboard with a linen finish, easy to read, satisfying to handle. The wooden tokens feel premium. The cardboard silver coins are fine. The insert, though, is a bit of a disappointment. It’s functional, but a lot of players end up ditching it for bags or a third-party organizer.
Plan for a serious table footprint. Four players will need roughly a 4×4 foot surface, and that’s not an exaggeration.
Game Setup
Setting Up the Central Depot
Place the Phase 1 depot board in the center of the table. Populate each numbered space (1 through 6) with the appropriate tiles for that phase — the rulebook specifies which tile types belong where. This depot is what everyone drafts from during the phase.
Player Boards and Starting Resources
Each player takes a player board (chosen or randomly assigned) and sets up their storage area, where tiles wait before being placed on the board. Starting resources are distributed based on turn order — later players get slight compensation to offset going last. Each player receives silver coins, worker tokens, and goods tokens (type varies by board). Player order is determined randomly for the first phase, then adjusted based on phase-strip bonuses in subsequent phases.
Turn Structure and Core Actions
Rolling Dice and Assigning Results
At the start of each round, every player rolls their own two personal dice simultaneously. Your results are fixed — no rerolls — but you choose how to assign each die to an action. That choice is the central puzzle of the game.
Taking a Tile from the Depot
Pick a tile from the numbered depot space matching your die result. That tile goes into your personal storage, which holds a maximum of 3 tiles. If storage is full, you can’t take more until you place some.
Placing a Tile onto Your Board
This is where the dual-matching rule trips up nearly every new player. To place a tile from storage onto your board, both of the following must be true:
- Your die result matches the number printed on the hex space where you want to place the tile.
- The tile’s color matches the color of that region on your board.
Miss either condition and the placement is illegal. Full stop.
Selling Goods, Taking Workers, and Spending Silver
Use a die result matching a goods type to sell all tokens of that type from your supply — you’ll score points and gain silver. Selling a larger stack in one go is more efficient, so it’s worth accumulating before you sell.
Instead of a die action, you can take worker tokens or take silver. Both let you modify a die result by ±1 per token spent — silver costs one coin per pip, workers are free to spend but limited in supply. These adjustments are how you turn a bad roll into something usable.
Phases and Rounds
The game runs 5 phases, each containing 5 rounds. At the end of each phase, any tiles remaining on the depot are removed and lost — they don’t carry over. That creates real urgency. If you see a tile you need and the phase is ending soon, grab it now.
Tile Types and What They Do
- Yellow Castles — Place one and you immediately get a free extra action, no die required. One of the most powerful effects in the game. An early Castle essentially gives you more turns than your opponents.
- Green Pastures — Complete a connected group of the same animal type and score based on group size. Larger contiguous groups score significantly more.
- Blue Ships — Unlock special abilities that persist for the rest of the game, like placing tiles without matching the die number. New players consistently undervalue these. Don’t.
- Black Mines — Earn silver automatically at the start of each subsequent phase. An early mine pays for itself many times over across 5 phases.
- Brown Monasteries — Grant ongoing special powers that activate repeatedly or under specific conditions. Read each one carefully when you acquire it.
- Gray Buildings — Score based on how many of that building type exist across all players’ boards. The fewer opponents who’ve built the same type, the more yours is worth. Watch what everyone else is building.
Scoring
Placing Tiles and Completing Regions
You score a small number of points just for placing a tile. The real payoff comes from completing a colored region — filling every hex space in a contiguous area of the same color. Here’s the most important strategic concept in the game: a completed 6-hex region is worth dramatically more than two completed 3-hex regions. The bonus scales steeply with size. Identify your largest regions early and commit to them.
Goods, Phase Bonuses, and End-Game Conversion
Selling goods earns both points and silver. The phase strip shows bonus points for being first or second to complete certain objectives — these are significant and frequently ignored by new players. Know what they are before each phase starts.
At game end, leftover resources convert to points: every 2 silver = 1 VP, every 1 worker = 1 VP, remaining goods tokens also score at a scaled rate. The conversion rates are poor, which is exactly why you should spend resources on actions rather than banking them. Ties are broken first by remaining silver, then by remaining workers.
Common Mistakes New Players Make
Forgetting the dual-matching rule. You need both a color match and a number match to place a tile. The color match alone isn’t enough — I’ve taught this game a dozen times and it’s always the first thing people get wrong.
Misunderstanding storage. Tiles from the depot go to storage first. You need a separate action to place them on your board. This two-step process means planning ahead matters more than it looks.
Missing Castle bonus actions. Yellow Castle tiles give you a free extra action the moment you place them. New players forget this constantly.
Ignoring phase-end tile removal. If a tile you need is sitting on the depot and the phase ends next round, grab it. Don’t assume it’ll be there later.
Hoarding silver and workers. They convert at terrible rates at game end. They’re tools, not points. Spend them.
Spreading too thin. Starting five different regions and completing none of them is a losing strategy. Pick your targets and commit.
Strategy Tips for Castles of Burgundy Special Edition
Early game: Get a yellow Castle tile as soon as possible — the compounding effect of extra actions across 25 rounds is enormous. Secure a black Mine in Phase 1 or 2 for passive silver income. Before the game even starts, study your player board and identify your largest regions. Those are your targets.
Mid-game: By Phase 2 or 3, start tracking what gray buildings your opponents are building. If two of you are stacking the same type, you’re both losing points — pivot to something underrepresented. Sell goods in large batches, and use workers freely. They’re worth 1 point each at game end, which is almost nothing compared to what a well-placed tile can score.
Late game: Finishing an incomplete large region is almost always better than starting a new one. Don’t begin anything you can’t complete. Spend your silver and workers on actions — the end-game conversion rate is a consolation prize, not a plan.
Dice probability: With two dice, 3s and 4s come up more often than 1s and 6s. If you can orient your strategy around hex spaces numbered 3 and 4, you’ll have more consistent access to what you need. The best players are constantly asking: “Am I getting 3+ effective actions this round?” Between two dice, a Castle bonus action, and a ship ability, that’s very achievable.
Solo Mode and Multiplayer
The Special Edition’s dedicated solo mode uses a card system to simulate opponent competition for tiles and phase bonuses. It’s a genuine solo experience — not just “beat your own score” — and it works well for learning the game or playing when no one else is available.
At two players the game runs around 60 minutes and plays very cleanly. Four players pushes closer to 90 minutes and adds more competition for depot tiles, which makes gray building tracking more important. The game holds up well at all counts, which isn’t always true for games of this weight.
The asymmetric boards from the integrated expansions each have a genuinely different region layout that rewards a different approach. Before you play a new board, spend two minutes identifying your largest regions and your “engine.” The board shapes your strategy more than most players realize.
Castles of Burgundy Special Edition vs. Similar Games
The original 2011 version is still a great game, but the Special Edition is better in every measurable way: larger tiles, better art, all expansions included, solo mode, asymmetric boards. The only reason to keep the original is if you already own it and the upgrade cost isn’t worth it to you.
| Game | BGG Weight | Players | How It Compares |
|---|---|---|---|
| Castles of Burgundy SE | ~3.0 | 1–4 | The reference point |
| Wingspan | 2.4 | 1–5 | Lighter, card-driven, more accessible |
| Viticulture EE | 2.9 | 1–6 | Similar weight, worker placement focus |
| Terraforming Mars | 3.3 | 1–5 | Heavier, card-driven, longer |
| Agricola | 3.6 | 1–5 | More punishing, less forgiving |
| Azul | 1.8 | 2–4 | Much lighter, great gateway to tile drafting |
If someone in your group is new to Euros and wants to start lighter, point them toward Azul or Wingspan first, then come back to Castles of Burgundy when they’re ready for something meatier.
Frequently Asked Questions
How is the Castles of Burgundy Special Edition different from the original?
The Special Edition has significantly larger hex tiles, refreshed artwork by the original artist Klemens Franz, all previously released expansions integrated into the box, a new solo mode, and asymmetric player boards not in the original. The core gameplay is identical — it’s a component and content upgrade, not a rules revision.
How does tile placement work in Castles of Burgundy Special Edition?
Placement requires two conditions simultaneously: the die result must match the number on the hex space, and the tile’s color must match the color of that region on your board. Tiles also can’t go directly from the depot to your board — they pass through your personal storage (max 3 tiles) first.
How does scoring work?
You score points throughout the game for placing tiles, completing colored regions (larger regions score disproportionately more), and selling goods. Phase-end bonuses reward players who complete objectives first. At game end, leftover silver (2:1), workers (1:1), and goods tokens all convert to victory points. Ties go to the player with more remaining silver, then more remaining workers.
Can you play Castles of Burgundy Special Edition solo?
Yes — the Special Edition added a dedicated solo mode using a card system to simulate opponent competition for tiles and phase bonuses. It’s a genuine solo experience, not just a score-attack mode, and it works well for practice or solo sessions.
What are the most common mistakes beginners make?
The biggest rules mistake is forgetting that tile placement requires both a color match and a number match. Strategically, new players tend to spread across too many regions without completing any, hoard silver and workers instead of spending them, and forget the free bonus action from yellow Castle tiles.