Quick Answer: In Azul Summer Pavilion, players draft colored tiles from factory discs or a shared center pool, then spend N tiles of a color to fill space N on their star-shaped board. You play six rounds, score points for each tile placed plus adjacency bonuses, and earn big end-game bonuses for completing arms and number sets. The rotating wild tile changes every round — and it’s the thing most new players get wrong first.
Players: 2–4 | Play Time: 45–75 min | Age: 8+ | BGG Weight: ~2.3/5
What Is Azul Summer Pavilion?
Azul Summer Pavilion is the third game in Michael Kiesling’s Azul series, published by Plan B Games (under the Next Move Games label) in 2019. It’s inspired by the Royal Summer Pavilion of King Manuel I of Portugal — you’re an artisan decorating a star-shaped mosaic floor with brilliantly colored tiles.
If you’ve played the original Azul, you’ll recognize the tile-drafting core, but Summer Pavilion is a different animal. The grid wall is gone, replaced by a six-armed star board. There are no fixed pattern rules — instead, you pay a tile cost to fill each space. And there’s a rotating wild color that changes every round and forces you to plan several turns ahead. It’s the most strategically layered of the three Azul games, and honestly, most experienced players consider it the best of the trilogy.
It sits at a BGG rating of around 7.8 with a weight of 2.3/5 — approachable enough for casual gamers, deep enough to reward repeated play.
What’s in the Box
The Tiles
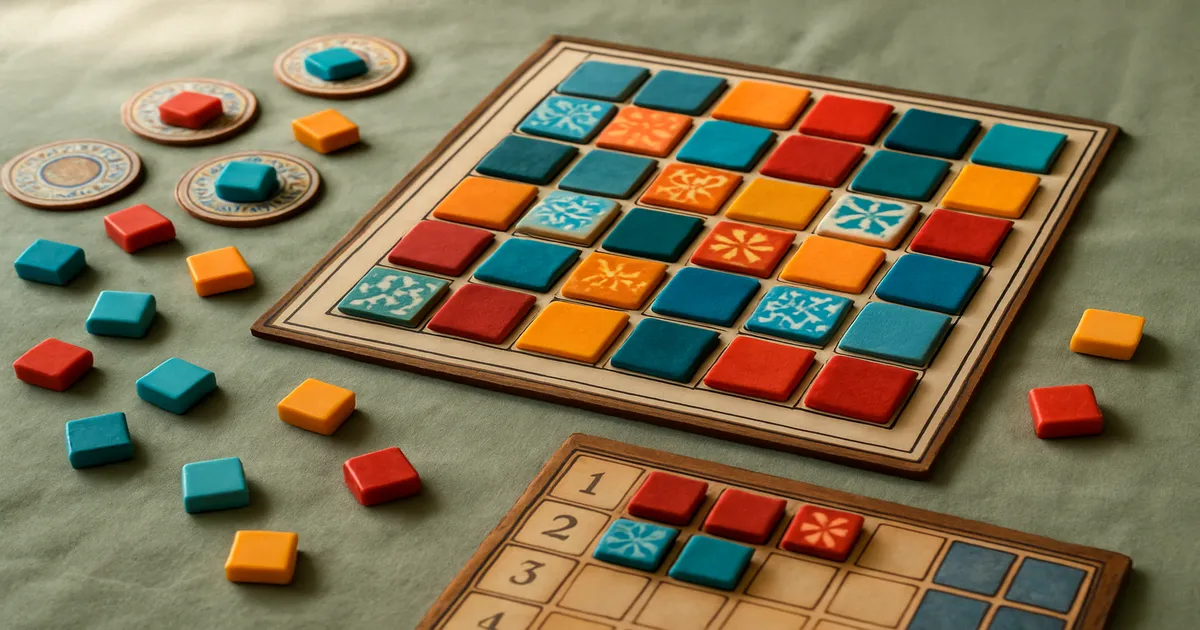
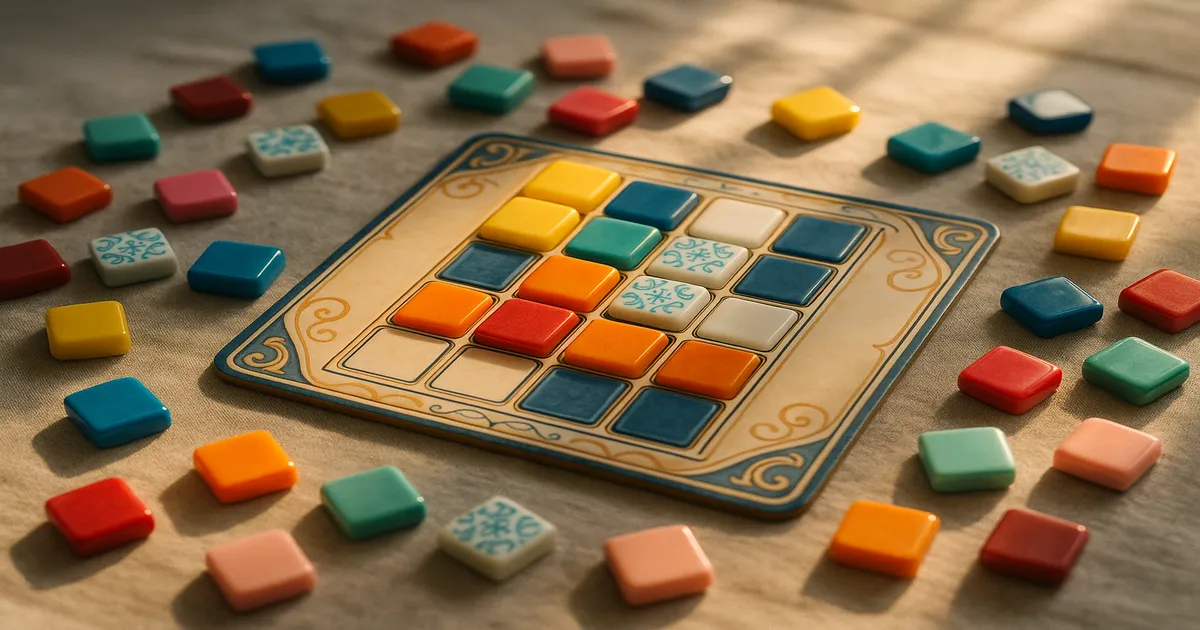
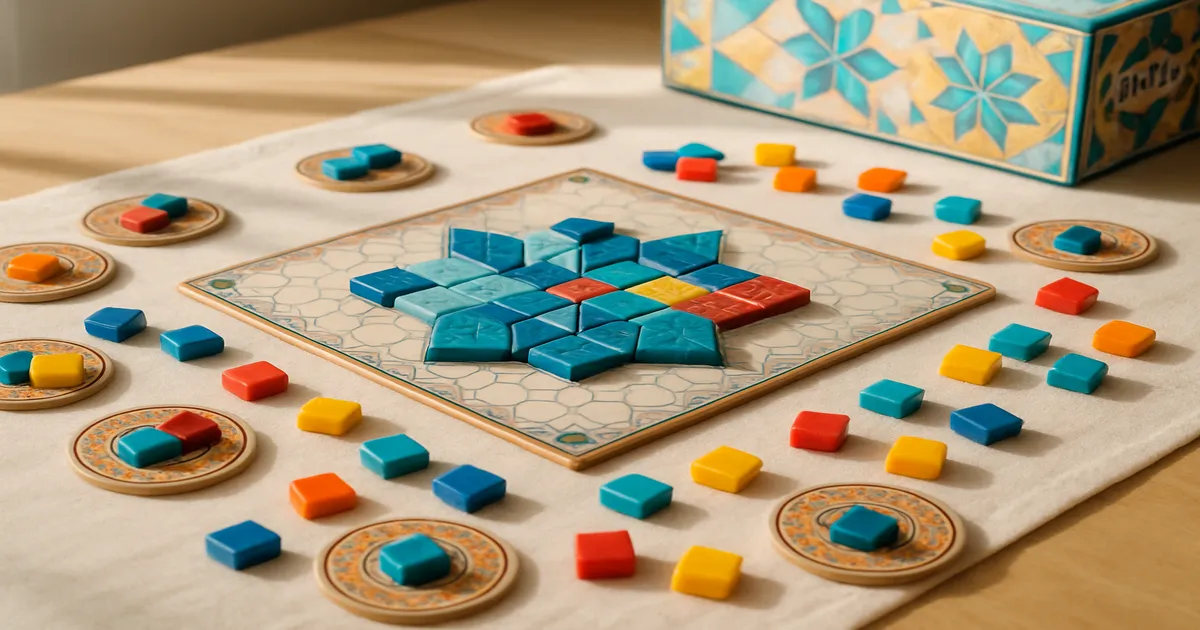
The tiles are the reason people pick this game up off a shelf. They’re thick, slightly translucent Bakelite-style plastic in six colors — red, blue, yellow, orange, green, and purple — and they feel genuinely satisfying to handle. There are 132 of them, 22 per color. (Azul Summer Pavilion by Plan B Games/Next Move Games)
Player Boards and the Star Layout
Each of the four player boards is double-sided — one standard side, one variant. The star has six arms, each dedicated to one color, and each arm has six numbered spaces (1 through 6). That numbering isn’t decorative: it’s the cost system. Space 4 costs 4 tiles of that arm’s color. More on that in a moment.
Everything Else
- 1 central game board (holds factory discs and the scoring track)
- Factory discs — 5 for 2 players, 7 for 3, 9 for 4
- 1 bag for drawing tiles
- 1 tower (the box lid, used as a discard container)
- 4 scoring markers
- 1 first player marker
- Round tracker with wild color indicator
- Rulebook
The table presence is genuinely impressive. Four fully tiled star boards surrounded by colorful tiles looks fantastic mid-game.
Setup
Place the central board in the middle of the table and set out the correct number of factory discs for your player count (5/7/9). Draw four tiles from the bag and place them face-up on each disc. Each player takes a player board and a scoring marker, starting at zero on the scoring track.
Check the round tracker on the central board — it tells you which color is wild for Round 1. The wild color follows a fixed sequence across all six rounds, so you can plan which arms to prioritize before the game even begins. That’s worth doing. Place the first player marker near the center of the table, and keep the tower accessible for discarded tiles.
How to Play Azul Summer Pavilion: Turn-by-Turn Rules
Phase 1 — Drafting Tiles
On your turn, you do one of two things:
- Take from a factory disc — grab all tiles of one color from a single disc; the remaining tiles go to the center pool.
- Take from the center pool — grab all tiles of one color from the center. The first player to take from the center also takes the first player marker, which costs 1 point at the end of the round.
Everyone drafts until all tiles are gone, then you move to placement.
The Wild Tile Rule (Read This Carefully)
This is where new players stumble. When you take tiles on your turn — from a disc or the center — you may also take up to 2 wild tiles of the current round’s wild color from the general supply (the lid/tower area, not from factory discs). But you can only do this if you’re already taking at least one tile of a different color. You cannot take wild tiles alone.
This is the single most misunderstood rule in the game. Get it right from the start.
Phase 2 — Placing Tiles on Your Star Board
After all tiles are drafted, players place tiles onto their boards. Here’s the key rule most newcomers miss:
To fill space N on an arm, you pay N tiles of that arm’s color.
So filling space 3 on the blue arm costs 3 blue tiles. Space 6 on the orange arm costs 6 orange tiles. Wild tiles count as any color when paying this cost. You can fill multiple spaces across multiple arms in one placement phase — you’re not limited to one space per round. Any tiles you don’t place stay in your personal supply for future rounds, but they’ll cost you points at game end.
Scoring Each Round
After placement, score as follows:
- +1 point for each tile you placed this round
- +1 bonus point for each tile already on your board that’s adjacent to a tile you just placed
Adjacency scoring is easy to forget mid-game, but it adds up fast. A tile placed next to three existing neighbors scores 4 points total (1 base + 3 adjacency). Building dense clusters pays off.
End-Game Bonuses
After Round 6, score these bonuses:
- +14 points for each fully completed arm (all 6 spaces filled)
- +4 to +20 points for completing all spaces of a given number across all six arms (all six “1” spaces = +4 points; all six “6” spaces = +20 points)
- +12 points for completing the center star (one tile of each color)
- −1 point per tile remaining in your personal supply
Highest score wins. Ties go to the player with more tiles remaining in their supply — a rare situation, but a satisfying tiebreaker.
Common Mistakes New Players Make
Misunderstanding the wild tile rule. You cannot take wild tiles on their own. You must take at least one tile of a non-wild color first, then optionally grab up to 2 wilds from the supply. This comes up constantly in first games.
Treating every space as a one-tile placement. Space 5 costs 5 tiles. If you’re not collecting in bulk, you’ll find yourself unable to fill the spaces you want.
Forgetting adjacency bonuses. These are scored at the moment of placement, not at round end. Get in the habit of counting neighbors before you place — it changes which space you target.
Hoarding tiles. Saving tiles “just in case” is tempting but dangerous. Every tile left in your supply at game end is −1 point. In a close game — and Summer Pavilion games are often close — that penalty swings results hard.
Ignoring the wild color schedule. The rotation is fixed and printed on the board. If you don’t look at it until Round 4, you’ve missed real planning opportunities. Check it at setup.
Azul Summer Pavilion Strategy Tips
Beginner: Commit to Two or Three Arms
The +14 bonus for a complete arm is massive. Pick two or three arms and commit rather than spreading across all six. You almost certainly won’t complete all six arms in a single game, and trying to will leave you with nothing finished.
Track the wild color schedule from Round 1. If purple is wild in Round 5, that’s the round to fill expensive spaces on the purple arm — you’ll have help getting there. (Stonemaier Games Neoprene Game Mat)
Intermediate: Chase Number Bonuses and Watch Your Supply
Once arm completion clicks, layer in the number bonuses. The spaces that contribute to both a completed arm and a completed number set are your highest-priority targets. The “+20 for all six ‘6’ spaces” bonus is absurdly powerful if you can build toward it across multiple arms.
The center star (+12) is easy to neglect because it requires one tile of each color. Plan for it deliberately — don’t just hope the tiles show up in Round 6. And aim to end the game with 0–2 tiles in your supply. More than that, and you’re essentially donating points to your opponents.
Advanced: Wild Tile Banking and Blocking
In early rounds, wild tiles are relatively plentiful. Collect them when you can and save them for the expensive spaces (4, 5, 6) later. A well-timed wild tile on a space-6 placement saves an enormous amount of tile collection effort.
In 2- and 3-player games, pay attention to what your opponents need. In Rounds 5 and 6, deliberately drafting a color you don’t urgently need — just to deny it — can flip the game. And in Round 6 specifically, calculate exactly how many tiles you need before you draft. Over-drafting in the final round is one of the most painful ways to lose a close game.
How Azul Summer Pavilion Compares to the Other Azul Games
| Game | BGG Weight | Key Mechanic | Best For |
|---|---|---|---|
| Azul (Original) | ~1.8 | Grid wall, no wilds | New players, families |
| Azul Stained Glass of Sintra | ~2.1 | Column drafting, variable scoring | Players who want variability |
| Azul Summer Pavilion | ~2.3 | Star board, rotating wilds, cost-to-place | Strategic depth seekers |
The original Azul is simpler and cleaner — a great first tile-drafter. Summer Pavilion has more moving parts, and that’s exactly why experienced players tend to prefer it.
Stained Glass of Sintra is the most divisive of the three. Its column-based drafting and variable scoring create wild swings that some players love and others find frustrating. Summer Pavilion is more consistent — your decisions feel more connected from round to round, and the scoring structure rewards deliberate play rather than lucky tile draws.
Which should you buy first? If you’re new to the series, start with the original Azul. It’s the cleanest introduction. If you’ve already played Azul and want more depth, Summer Pavilion is the natural next step — and for many players, it becomes the permanent favorite.
If you’re exploring the genre more broadly, Sagrada and Cascadia scratch similar itches at comparable weights. Patchwork is worth a look if you’re primarily playing at two players.
Frequently Asked Questions
How do wild tiles work in Azul Summer Pavilion?
Each round, one color is designated wild following a fixed rotation. When you draft tiles, you may take up to 2 wild tiles from the supply in addition to the color you’re drafting — but only if you’re taking at least one non-wild tile. You can’t take wild tiles alone. During placement, wild tiles substitute for any color.
How is Azul Summer Pavilion different from the original Azul?
The original uses a grid-based wall where tiles are placed one at a time following a fixed pattern. Summer Pavilion replaces that with a star-shaped board where you pay N tiles to fill space N — a cost-to-place system that creates a very different resource management challenge. The rotating wild tile mechanic is also entirely absent from the original.
How does scoring work in Azul Summer Pavilion?
Each tile placed scores 1 point plus 1 bonus point for each adjacent tile already on your board. At game end, you earn bonuses for completing full arms (+14 each), completing all spaces of a given number across all six arms (+4 to +20), and completing the center star (+12). Leftover tiles in your supply cost −1 point each.
Is Azul Summer Pavilion good for beginners?
It’s accessible, but it’s not the easiest entry point. The cost-to-place system and wild tile rule trip up first-time players, and the end-game bonus structure takes a game or two to internalize. If you’re brand new to tile drafters, the original Azul is a gentler start. That said, Summer Pavilion isn’t intimidating — most people are comfortable with it by their second game.
How many players is Azul Summer Pavilion best for?
The BGG community leans toward 2–3 players. At 2, the game is tighter and more tactical — blocking matters more. At 3, there’s a nice balance of interaction and planning. Four players works well but runs longer and can feel slightly more chaotic in the drafting phase. It’s genuinely good at all counts.